DIY Photo Scanning: Maximizing Quality
|
Resolution for Negatives and SlidesA stand alone scanner will have a frame that allows you to scan negatives and slides. (You will need to take the white top plate off your scanner lid for this exercise.)
Make sure the settings are set for negative film or positive film (slides). Take special care with dust on the glass and on the film then scan at a minimum of 2400 dpi. If you have the patience, choose 4800 dpi. Scanning DocumentsDocuments can generally be scanned at a maximum of 300 dpi. Seldom do we have the need to enlarge a document and usually they are just a matter of record.
If you plan to frame the document or enlarge it then treat it like a photograph. If you just need to send it to your accountant then 150 dpi should suffice. |
Alternatives to ScanningSome people use their phones to copy an image. That can work if you want to send it off to, say, get an estimate for repair or restoration.
Back in the day, all copying was done with cameras. And even today, some professionals digitize images using high quality cameras and carefully balanced lighting. Cameras are faster than scanning and can handle very large images (provided they are flat or laid in a glass sandwich). Our testing and our experience tells us that a quality scanner is superior to re-photographing the image, although it is more laborious. |
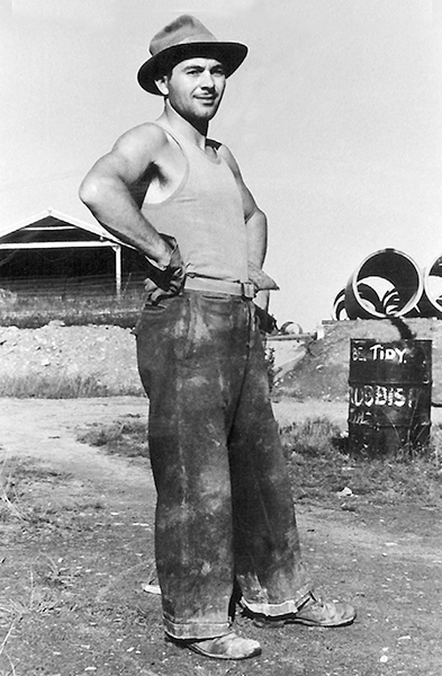
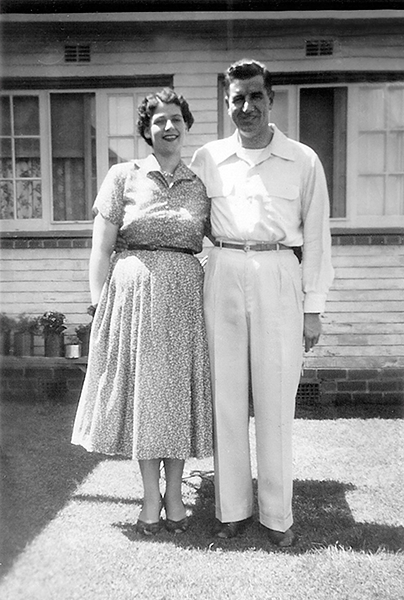
Why scan B&W photos in color?
First of all, few images that appear to be black and white are actually devoid of color. Most have a slight, natural tint. Second, scanning images in color means that three color channels are created - Red, Green and Blue - and this is important should you ever wish to repair the photo since much of the work is done on these channels separately. In addition, many of the most sophisticated adjustment and restoration tools require an image with all three color channels. And, sure you have a smaller file size with a black and white photo scan - but these days, disk space is really no longer an issue. |